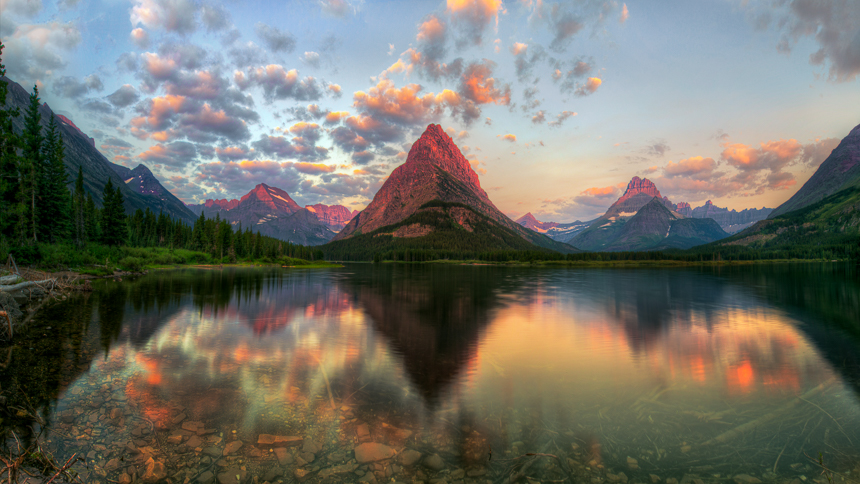
Using Adobe Photoshop, creating panoramic images is astonishingly simple.Panoramic images are created by shooting multiple shots and stitching them together in post to create an elongated field of view. Wide-angle lenses are commonly used in panoramic photography, however techniques discussed here can be applied to telephoto lenses as well. Panorama’s are usually found in the horizontal orientation, however the same concepts can be applied in the vertical direction.
Shooting the images
Here are some guidelines for shooting the images that will help you get consistent results.
Image Overlap
Keep it Level
Try to pan level to the horizon as best as you can.
Include a buffer zone
Through the stitching process, there will often be elements at the edges that will not fit into the final image. When you shoot your scene keep that in mind, and give your self a buffer zone in each direction.
Using a Tripod
I recommend using a tripod with a nice ball head to make lining up your shots a bit easier. It is possible to stitch images that were shot hand held, but results are better when a tripod is used.
Shoot in Manual Mode
It is important that all the images being stitched together have the same exposure settings. Figure out the exposure you want by taking a couple of test shots. Additionally you may want to consider using manual focus to maintain a consistent focus point (I have also had success adjusting focus in each shot, so play around to see what works best for you).
White Balance
Ideally, every image you are stitching together should have the same white balance. If you shoot in auto white balance mode the camera may select different settings for your shots. Shooting in RAW allows you correct this in the post-processing stage.
Shoot in Live View
Use the display screen on the back of your camera to help you line up your images. Determining your overlap is is much simpler this way.
Stitching the Images Together
If you shoot your images with process I outlined above, Photoshop will do a fantastic job automatically stitching them together to create a single image. There is some cleanup involved but it is fairly straight forward. I go over all that in this video tutorial.
Watch the Tutorial Video
Eliminate Image Parallax (advanced)
To help you illustrate what image parallax is, visually line up your index finger with an object in your room. Close one eye and observe what happens, then switch eyes and observe once again. Viewing the objects through your dominant eye should change nothing, however viewing the objects through your less dominant eye should reveal a shift. This shift, or parallax, is what happens when you don’t rotate the camera and lens about the optical center, aka nodal point. The nodal point, varies for each lens and focal length, however it is typically located a small distance behind the end of the lens. Rotating the camera and lens about the nodal point will eliminate image parallax.
There are some fancy tripod mounts that allow you to rotate the camera around the nodal point of the lens, reducing any shift in optical perspective, however that level of precision is generally not needed. Rotating around the nodal point becomes increasingly important when using an ultra-wide angle lens and including subjects that are very close to the camera.
If you have any questions please send me a message at [email protected].
Want to Connect?
Facebook
Instagram: @DustinWongPhotography
500px
Sign up for my mailing list


